Gorilla Glue
Gorilla® Epoxy
Gorilla® Epoxy
Couldn't load pickup availability
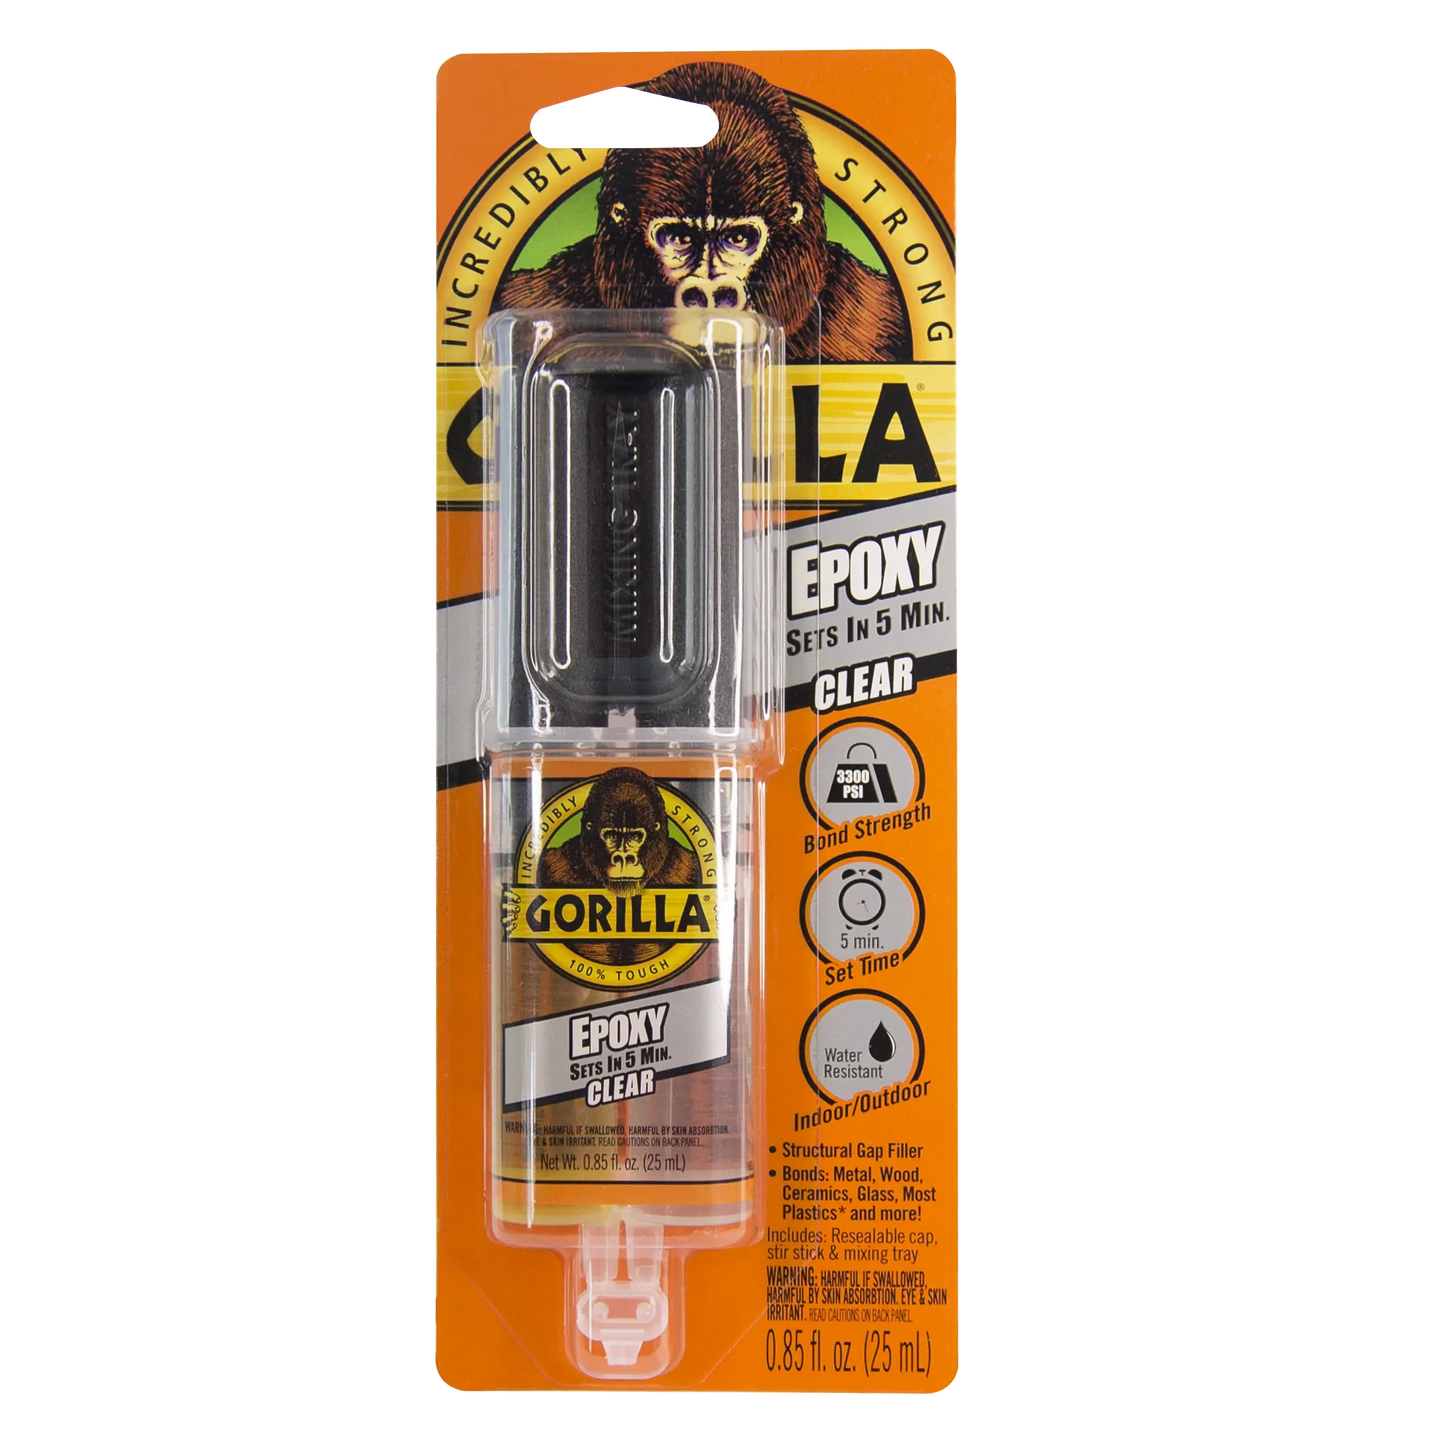
Gorilla ® Epoxy raises the bar for epoxy adhesives – to Gorilla ® levels. Unparalleled strength combined with superior resistance to both solvents and water makes Gorilla Epoxy the obvious choice.
The easy-to-use needle design makes it a breeze to repair everything from home to car or boat. The unique 2-component epoxy bonds strongly to all surfaces including metal, ceramic, plastic and wood.
Gorilla ® Epoxy leaves a crystal clear finish – perfect for invisible repairs.
Share


Collapsible content
Instructions
1. Prepare your work area and surface
If this is your first time using Gorilla® Epoxy, or you are using it on a new type of material, we always recommend that you do a test bonding first.
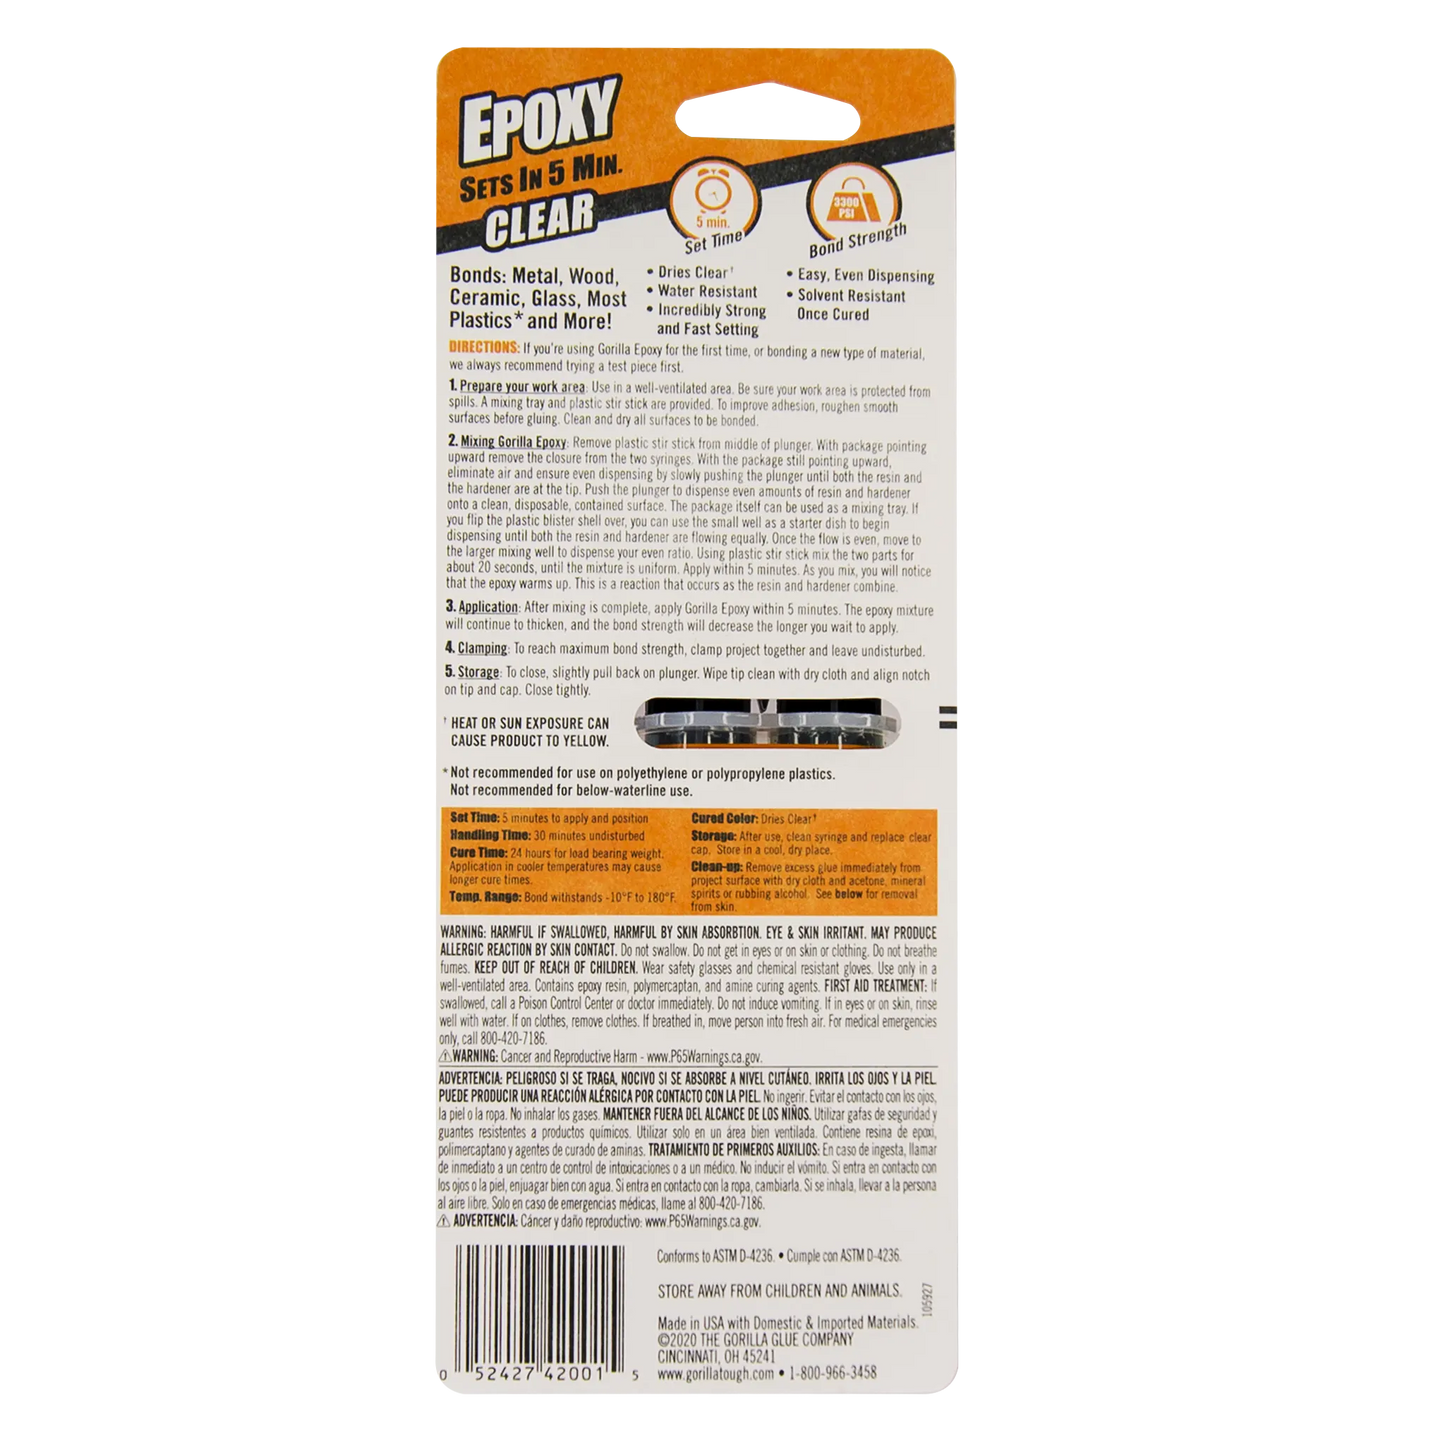
Prepare your work area: It is recommended to use Gorilla® Epoxy in a well-ventilated area. Be sure to protect your work area from any spills. Find your mixing bowl and stir sticks so that all your tools are together.
Prepare the surface: To promote adhesion, smooth surfaces should be abraded before gluing, e.g. with coarse sandpaper. Then clean and dry the surfaces before gluing.
2. Mixing Gorilla® Epoxy
Remove the black cap I between the syringe plungers. With the tip pointing upwards, cut or break off the end of the syringe. With the tip still pointing upwards, ensure that both chambers are free of air and evenly filled by gently pushing the plungers into the syringe until the spout is completely filled.
Press the plunger into the syringe and make sure to get equal parts of resin and hardener into the mixing vessel. The mixing vessel must be a clean and tightly closed vessel. Note that the vessel cannot be reused subsequently. Packaging for Gorilla® Epoxy can be used as a mixing vessel. The small mixing vessel on the front of the packaging can be used to start dosing. When the masses flow evenly out of the syringe, you can switch to a larger mixing vessel.
Mix the two masses for about 20 seconds until the mixture is uniform. The adhesive must be applied within 5 minutes.
While mixing, you will notice that the epoxy becomes warm. This is a reaction that occurs when the resin and hardener combine.
3. Application
Once you have finished mixing the compounds, Gorilla® Epoxy must be applied within 5 minutes. The epoxy mixture will continue to thicken over time, and the bond strength will weaken the longer you wait to apply the adhesive.
4. Clamping
To achieve the highest possible joint strength, the items should be clamped together and remain undisturbed.
Important curing times:
Set: 5 minutes to apply and place
Handling: Leave the items undisturbed for 30 minutes (no weight or handling)
Final cure: The bond reaches its full strength after 24 hours of curing. Visit our FAQ for more information on which surfaces Gorilla® Epoxy can bond, cleaning information and more.
Product Features
- CLEAR CURATED COLOR: ideal for a clean, easy finish
- 5 MINUTE SETUP: enough time to reposition for the perfect fit.
- GAP-FILLING: fills gaps and bonds uneven and vertical surfaces.
- WATERPROOF: for moderate exposure to water
- SOLVENT RESISTANT WHEN CURED
- EASY TO USE SPRAYER: the sprayer dispenses evenly and includes a cap for multiple uses.
Technical specifications
- Application Temperature: -45°C to 38°C
- Service temperature: -23°C to 82°C
- Outdoor – Yes
- Moisture Resistance Level: Water-repellent – not recommended for constant exposure to water
- Paintable: Yes – Can be painted with latex paint
- Sandable: Yes
- Stainable: Yes – Can be stained with water-based stain
- Cured Color: Clear
- Storage tips: Store the glue in a cool, dry place. Store resin and hardener separately. Wipe the tip with a dry cloth after use.
- Can fill cracks and crevices: Yes
FAQ
What surfaces does Gorilla® Epoxy bond to?
Gorilla® Epoxy is extremely versatile, delivering very strong results on steel, wood, aluminum, ceramics, tiles, glass, most types of plastics, pressure-treated wood and much, much more!
Is Gorilla® Epoxy waterproof?
Gorilla® Epoxy is water resistant, meaning it will withstand moderate exposure to water, but should not be fully submerged in water. If you need a glue that is 100% waterproof, check out our original Gorilla® Glue.
What is the shelf life of unused glue? Are there any tips to extend the shelf life?
The shelf life of unused Gorilla® Epoxy is a maximum of 2 years. The adhesive is not activated until the resin and hardener are mixed, so the shelf life can be much longer if the tip is cleaned after each use and the cap is securely attached. Make sure the cap is attached correctly, so that the notch in the cap matches the notch on the syringe, so that the two masses are not accidentally mixed.
Can Gorilla® Epoxy fill cracks and voids?
Yes. Gorilla® Epoxy is a filler. It fills voids and bonds uneven and vertical surfaces. It also fills cracks and voids outdoors, but may yellow over time when exposed to sunlight.
How do I remove Gorilla® Epoxy?
Gorilla® Epoxy is a very strong adhesive and is resistant to solvents. Removing the cured adhesive is extremely difficult. Acetone can soften the epoxy, but complete removal will require mechanical methods such as scraping, rubbing or sanding.
How to remove uncured Gorilla® Epoxy?
Skin: Acetone, isopropyl alcohol, and 2-3 washes with soap and water. Note, cured glue is removed mechanically, e.g. by rubbing or exfoliating soaps.
Hair: Isopropyl alcohol
Textiles and carpets: Isopropyl alcohol. Avoid acetone, soapy water and mineral-based cleaners as they are bad for textiles.
What is the best application temperature?
For best results, Gorilla® Epoxy should be applied at room temperature. Application at low temperatures will extend cure time, while application at high temperatures may shorten cure time.
Gorilla® Epoxy's cured joint can withstand temperatures from -23C to 82C.
Does Gorilla® Epoxy need to be tensioned, and for how long?
It is recommended to clamp the items to ensure the best joint.
Setting time: 5 minutes to mix, apply and place.
Handling time: Do not touch or move for 30 minutes – it is recommended to clamp the items.
Curing time: Full strength is achieved after 24 hours of curing.
How much Gorilla® Epoxy do I apply?
Gorilla® Epoxy is a very strong adhesive, and only small amounts are required to provide a strong bond.
Our 25 ml epoxy sprayer covers an average of 640-650 cm2.
What can I use as a mixing bowl and stirring stick?
A mixing bowl and stir stick are included with your Gorilla® Epoxy. Other possible mixing bowls could be aluminum trays, cardboard, or paper/plastic plates. Try using
Popsicle sticks, plastic cutlery or straws to mix with.
How do I apply Gorilla® Epoxy?
Make sure all surfaces are clean, dry and free of oils. To improve adhesion,
The surfaces are slightly abraded with sandpaper before gluing. Remove the black cap from the pistons of the intermediate syringe. With the tip pointing upwards, break the end of the syringe.
Slowly push the plunger down until the resin and hardener are completely
out at the tip, and dose the two masses equally. The wrapping can be used as
mixing vessel. Mix for at least 20 seconds until the mixture is uniform. Apply the mixture to the surface of the object within 5 minutes. Clamp the surfaces and leave undisturbed for 30 minutes. To close the syringe, pull the plungers back slightly, clean the cap with a clean, dry cloth and then replace the black cap on the tip.
What is Gorilla® Epoxy?
Gorilla® Epoxy is a two-part formula that requires equal parts resin and equal parts hardener mixed for activation. For best results, mix 1:1. Once mixed, it is able to adhere to an incredible variety of surfaces and deliver strong results.

